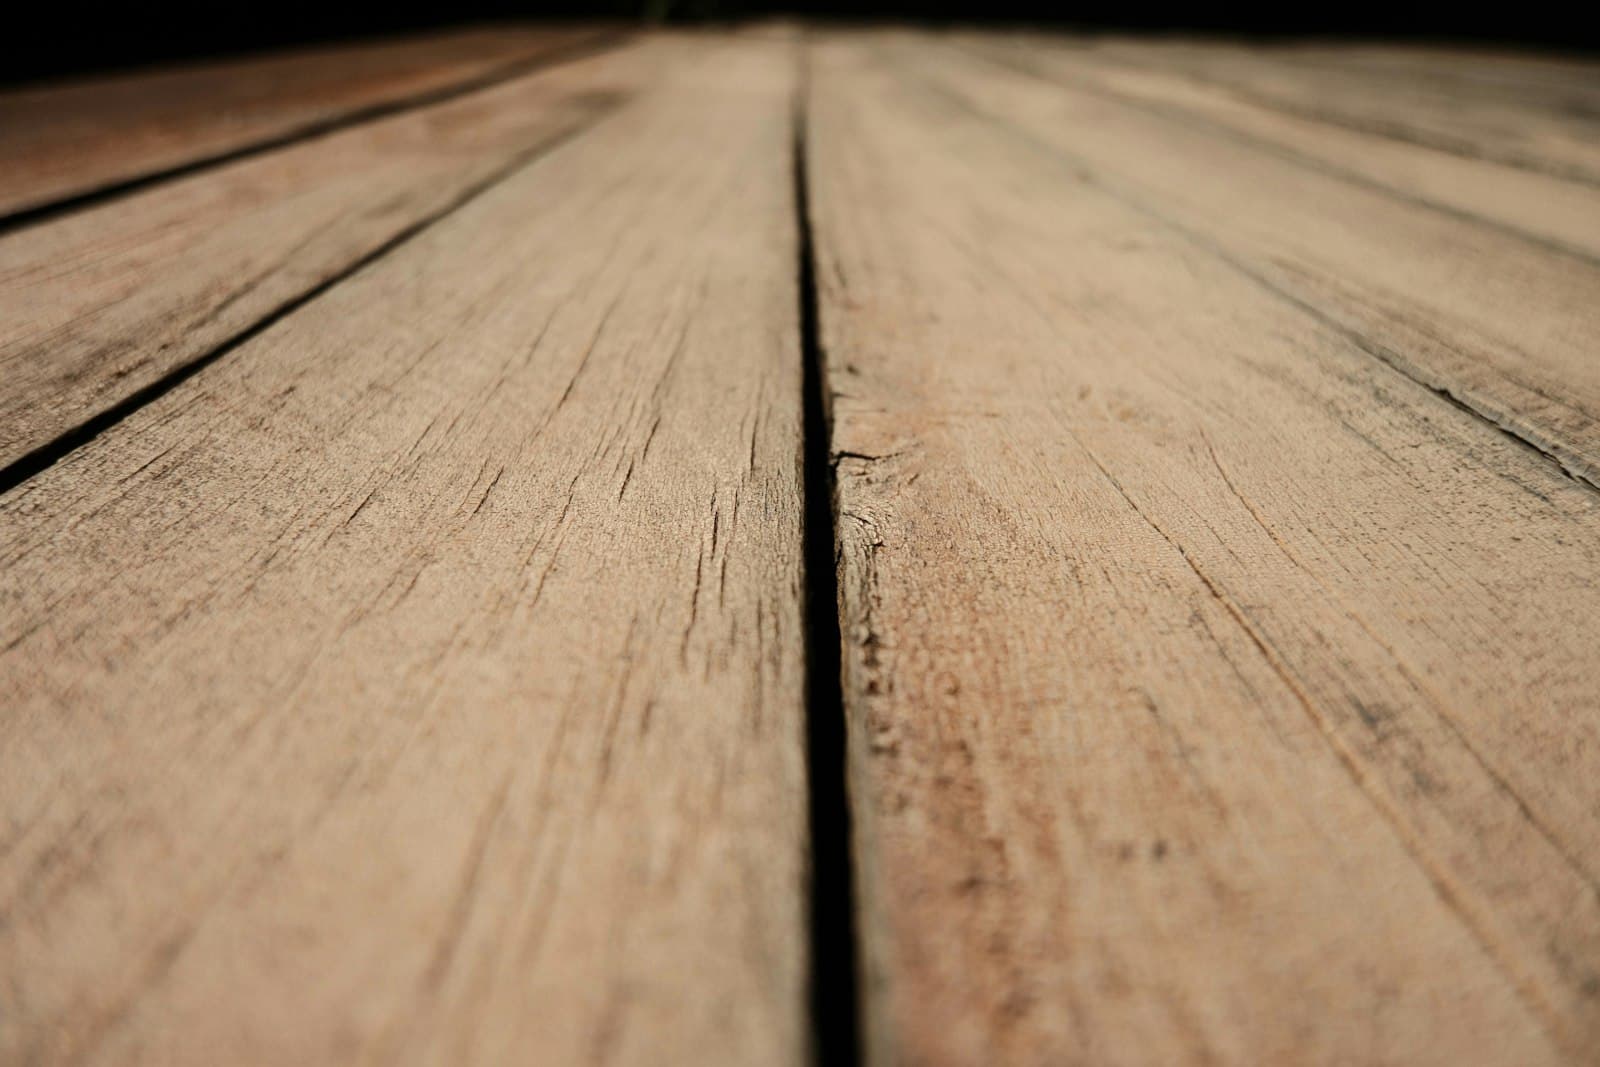
Cedar is the most beautiful deck material sold in Ontario. It is also the most maintenance-fragile. Every cedar deck older than two years has somewhere between a handful and several dozen surface splinters — thin fibers of wood that have lifted off the board and are now pointing up at anything (or anyone) that comes in contact with the surface. The repair is straightforward, but most homeowners get the order of operations wrong and end up sanding through the heartwood layer to reach softer wood underneath.
Here’s the order that actually works, and the four mistakes that cause the worst long-term damage.
Why cedar splinters in the first place
Cedar is a softwood with a relatively open grain structure. Two things happen on every Toronto cedar deck:
- UV degradation of the surface lignin.The lignin is the binder that holds the cellulose fibers together. UV breaks it down at the surface, leaving the fibers loosely held. When the surface dries (after rain or morning dew), the freed fibers lift. This is what gives an old cedar deck its silvery weathered look — the lifted fibers reflect light differently than smooth wood.
- Repeated wet-dry cycling. Each rain wets the surface and expands the loosened fibers; each dry cycle contracts them. The lifted fibers eventually break free of their neighbours and stand up as splinters.
This happens to every cedar deck. The variables are how fast (south-facing decks splinter twice as fast as north-facing) and how aggressive the splintering becomes (knotty cedar splinters more aggressively than clear cedar). A south-facing knotty cedar deck in Burlington or Oakville will produce visible splinters by year two; a north-facing clear cedar deck in midtown Toronto can go four or five years before the first ones appear.
Don’t do this first: the four mistakes
- Don’t belt-sand the whole deck.Belt sanders remove 1–2 mm of material per pass and are nearly impossible to control on a 5/4″ cedar board. You will sand through the dense heartwood face and expose the softer sapwood underneath. The deck will look fine for a week, then splinter twice as fast.
- Don’t use a pressure washer at full pressure. Cedar tolerates roughly 800–1,200 PSI from a 25° fan tip held 12″ off the deck. Higher than that, the wand chews up the surface and creates more splinters than it removes. A surprising number of professional “deck cleaning” services in the GTA leave behind worse splintering than they started with.
- Don’t apply a film-forming finish. Cedar needs penetrating oils, not surface coatings. A polyurethane or deck paint will trap the splintered fibers under a brittle skin that peels within a single winter, taking the splinters with it and leaving even rougher wood underneath.
- Don’t snap off the splinters with your hand. Tempting and obvious, but breaking a splinter at the surface leaves a tiny ragged edge that re-splinters in a few weeks. The splinter has to be cut, not broken.
The order that works
Step 1: Diagnose first
Walk the deck barefoot (or with thin socks if you’d rather not lose a foot to learning). Mark the splintered areas with painter’s tape. You’ll typically find them in three zones:
- The high-traffic centre lane where furniture gets dragged across the boards.
- Around the stairs. The lip of the top step and the nose of every tread are mechanically stressed.
- South-facing edges. The boards getting the most UV degrade fastest.
For each marked area, decide whether it needs spot repair (a few isolated splinters) or board-level work (more than a quarter of the board surface is splintered). Spot repair is 15 minutes per location; board-level work is a different problem.
Step 2: Cut, don’t pull
For each splinter:
- Lift it gently with a fingernail or a fine spatula to see how deep it goes.
- Cut it flush with the surrounding wood using a sharp utility knife or a small chisel. The cut should be in the direction of the grain, not across it.
- If the splinter is rooted in a section of wood that’s already lifting, cut along the perimeter of the lifted section, remove the whole flake, and skip to the patch step.
A sharp utility knife with a fresh blade is the right tool here. Old or dull blades tear the fibers instead of cutting them, which creates new splinter sites.
Step 3: Spot-sand by hand
After cutting, hand-sand each repaired location with 80-grit, then 120-grit, on a small block. Sand with the grain only. Two minutes per spot, max. Don’t connect sand patches into long continuous strokes — that’s how you end up belt-sanding the whole deck without meaning to.
If the lifted-flake situation has exposed a depression in the surface (more than 1–2 mm deep), fill it with cedar-tinted wood epoxy (West System G/flex with a small amount of cedar sawdust mixed in is the standard recipe). Cure 24 hours, then hand-sand level.
Step 4: Apply penetrating oil to the spot
Use the same brand and shade of penetrating oil you used the last time the deck was sealed (Cabot Australian Timber Oil, Sansin SDF, TWP 100-series are the three that work in Ontario’s climate). Brush it onto the repaired spot, wait 20 minutes, wipe off any excess. Let cure 24 hours.
Cedar absorbs oil faster on freshly-sanded wood than on the surrounding aged wood, so the spot will look slightly darker for the first few days. It blends within a week.
Step 5: Plan the next full re-seal
Spot repair is a stopgap. Cedar wants to be re-sealed every 18–24 months in southern Ontario; if you’re finding more than 5–6 splinters during the inspection, the whole deck is due for a proper re-seal. A full re-seal costs $200–$400 in product (you’ll need 1–1.5 gallons of oil for a typical Toronto backyard deck) plus a half-day of work.
The full re-seal is the only intervention that actually slows future splintering. Spot repair fixes today’s splinters; re-sealing fixes the underlying surface degradation that produces new splinters.
When to consider replacing boards instead
If a single board has aggressive splintering across more than half its length, replace the board. Cedar boards from a Toronto-area lumberyard run $4–$8 per linear foot for 5/4″ clear decking in 2026 prices. Allow a full afternoon to remove the damaged board (the screws are usually rusted), source a matching replacement, and install it with stainless screws or hidden fasteners.
Board-level replacement is also the right call when the splintering is being caused by something underneath — a joist that has bowed, a fastener that’s lifted, a section that’s retaining water. Replacing the board without fixing the underlying cause means the new board splinters in a year.
The yearly rhythm
A cedar deck that gets the right maintenance rhythm in southern Ontario looks roughly like this:
- Year 1: Initial seal applied at install.
- Year 2: First re-seal, late spring.
- Year 3:Spot inspection, repair 3–6 splinters.
- Year 4: Full re-seal.
- Year 5–6: Spot inspection and repair annually.
- Year 7: Full re-seal, possibly with a light sand if the surface has become rough.
On this rhythm, a cedar deck in Toronto can stay genuinely beautiful for 25 years. Skip the rhythm and the splinter situation compounds — a neglected cedar deck at year five will need complete board replacement instead of spot repair.
Cedar is worth the trouble for the right house. The full cost article on cedar runs the numbers for a Toronto build; the calculator at deckcosttoronto.com will price out your specific build. The splinter problem above is the single-biggest reason cedar is a smaller share of the GTA market than its looks alone would suggest, and the single-biggest reason homeowners switch to composite at the ten-year mark.